A week ago I decided to upgrade to a new 23″ flat panel monitor (since I spend about 80% of my waking hours at the computer). I was thinking about buying a wall mount, but I discovered two problems:
- Most didn’t extend from the wall as far as I needed (about 18 inches)
- The prices for the ones that extended only about 13″ were $60 +
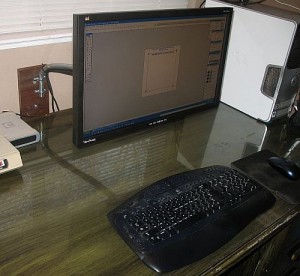
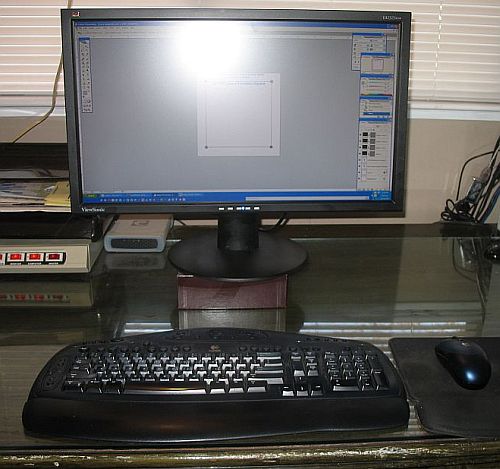
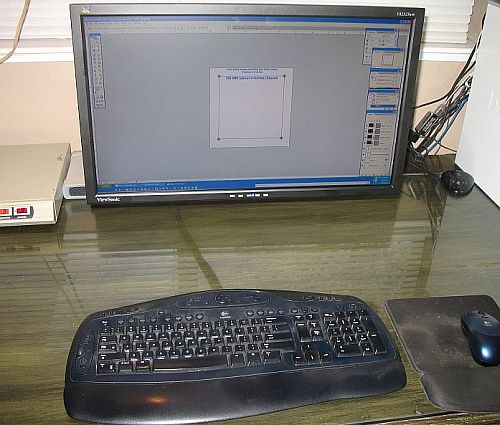
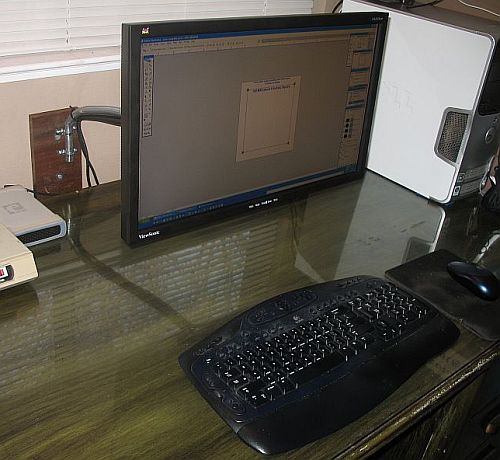
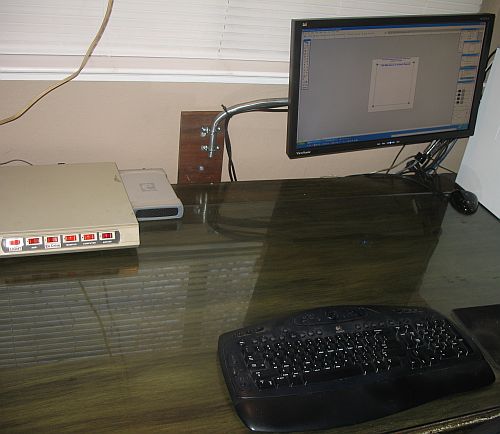
Here is my setup before I started:
Well, once again my overwhelming impatience and desire to do-it-yourself won over. I did some internet searching and was surprised there weren’t a lot of homemade monitor wall mounts out there on the net (at least few I could find). I did stumble upon this one, but I didn’t need fancy articulating arms, etc. Well, while I was laying in bed about to go to sleep I came up with a few ideas (as often happens).
My first idea was to have a two 3″ pieces of 1/2 inch pipe, one for the wall and one mounted to the back of the monitor. Then I’d bend a 2 ft. piece of rebar into a z shape which would fit into the pieces of pipe. At the last minute I opted for just going with a bent piece of pipe by itself which would fit into brackets. Here are the supplies I used:
- 2 ft. long piece of 1/2 inch (diameter) electrical conduit
- 4 – 1/2 inch brackets
- 4 – M4 .70 pitch metric screws (about 1.25 inches long)
- 8 washers
- 8 wood screws
- 1/2 pieces of scrap wood
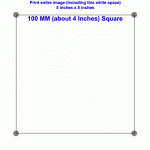 The first thing I needed to do was to find a way to attach the brackets to the monitor. I created a diagram based on the 100 mm square holes for the VESA mounts (100 mm VESA Mount Template). To the right is the image I created. I simply printed the sheet at 5″ x 5″ exactly (including the 1″ white border) and taped it to my board.
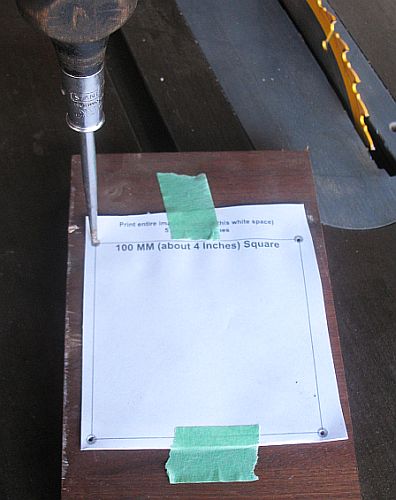
From there I pre-punched the holes with an awl and drilled all 4 holes with a 3/16 bit. (I also countersunk the holes on both sides)
This provided a perfect backing for the VESA mount on the back of the monitor where the M4 screws would fit.
The metal Arm:
This was one of the more complex parts of the project. Fortunately I had a 1/2 ” bender on hand, but I discovered that the bend radius was so long that I was using up much of my pipe. I ended up doing a mix of using the bender and the vice to get the angles I needed (You’ll see in the pics below).
Working with the metal arm to get it just how I wanted was a bit of work. Make sure you get 100% level bends or you’ll end up with my problem… when the monitor is rotated it is a bit off center and not level.
Next, the brackets:
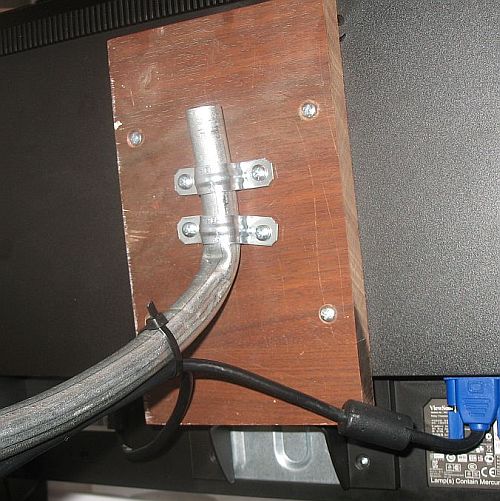
The 1/2 inch brackets are meant to hold the conduit very snugly, but I needed at least a tiny bit of play so I could insert & remove the whole thing. I was able to solve this problem by bending out the brackets ever so slightly and then putting a 1/16″ washer between the bracket and the wood.
I attached one bracket to the wood that would go on the back of the monitor and inserted my metal arm and then attached the other bracket and made sure it had just the right amount of play.
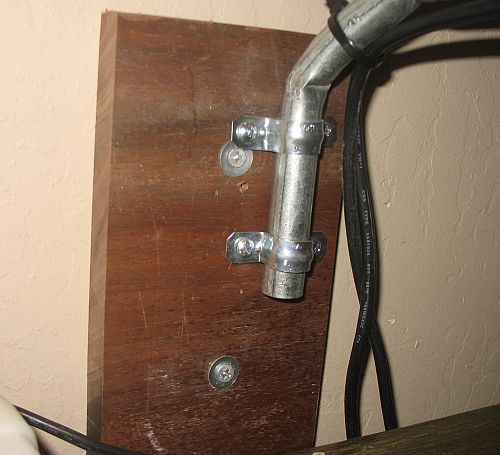
Next I found a stud in my wall (what a pain that turned out to be) and used 3″ screws to mount the other board. I propped up my monitor to a height I wanted and then put the metal arm in place and fastened the other two 1/2″ brackets with screws and washers just as before.
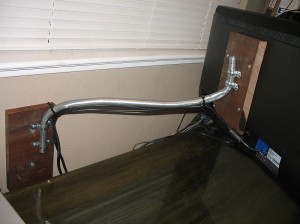
It took a few adjustments to get my pan and tilt just right, but I’m pretty happy with the results:
Here is the monitor swung completely out of the way… I’ve never had so much desk space!! 🙂
It isn’t pretty (as most of my “get it done and make sure it works projects end up) but it works really well!
I’ll keep testing it and make notes of future adjustments I’d like to make including painting everything black.
Necessity… the mother of invention! I’m with ya on the ‘If ya gotta do it right…’ attitude when it comes to any diy mod. Its amazing about how standards when it comes to certain things like the monitor actually needing different placement/positioning. Perhaps this will set a new standard… or at least help develop other existing ones. Cheers!
AWESOME!!!!!!!!!!!!
i wanted something simple, cheap and could swing to hold my monitor, thanks a million!!!!!!!!!!!!!!!!!!!!!!!!!!!!!!!!!!!!!!!!!!!1
Super Great!!! I’m a artist/ designer in metal, but for the life of me I couldn’t come up with a design for my DIY 37″ LCD TV base/arm for a cabinet I built many years ago that has my current DEAD CRT TV. Just seeing your pics has helped tons! Thanks so much for posting this as well as the 100mm Vesa template. It’s people like you and post’s like this that make the Internet so useful!
A suggestion on generating your paper template for drilling the holes. I haven’t made anything like this project, but I have used this technique for hinge screwhole placement.
Cut a piece of printer paper a bit bigger than the area around the hole spacing on the back of your VESA monitor. Lay it flat so that the paper covers all the holes on the back of the monitor. You should be able to feel each threaded socket – at each of the 4 points press down with the soft part of a finger, to create a dimple in the paper. Use the awl illustrated to punch holes through the paper & just a bit into the threaded socket.
At this point your paper template has 4 holes spaced exactly as they are aligned on the back of your monitor.
Transfer the hole pattern to the board using the awl as illustrated above.
Marvelous – excellent article!
Have you had to perform a “tune-up” on the arm stand since?
Well, I recently decided to go with dual 24″ monitors and debated for about a week on whether or not to make a second arm. The decision was partially made for me when I finally looked on the back of the monitors and found that they didn’t have the same mounts on the back. 🙁
In the end I just build a shelf that is about 6″ tall that both monitors sit on with their included bases. Not nearly as “cool” but functional… at least until I come up with a new way to mount them. 😉
I have been trying to come up with a way to do this for my Mom-n-law…this is just what I needed. I don’t have a pipe bender and looks are important but, with a bit of more thought I might be able to pull something off..thanks for posting!!!!
May I ask which ViewSonic model that is? Somehow it’s matte character got my attention, in contrast to your glossy finished tabletop