My daughter just started driving recently. My brother had an old (2004) Hyundai Sante Fe he was willing to sell to her for a great deal. It’s got over 110,000 miles and it’s very obvious it’s been pummeled by the Arizona sun.
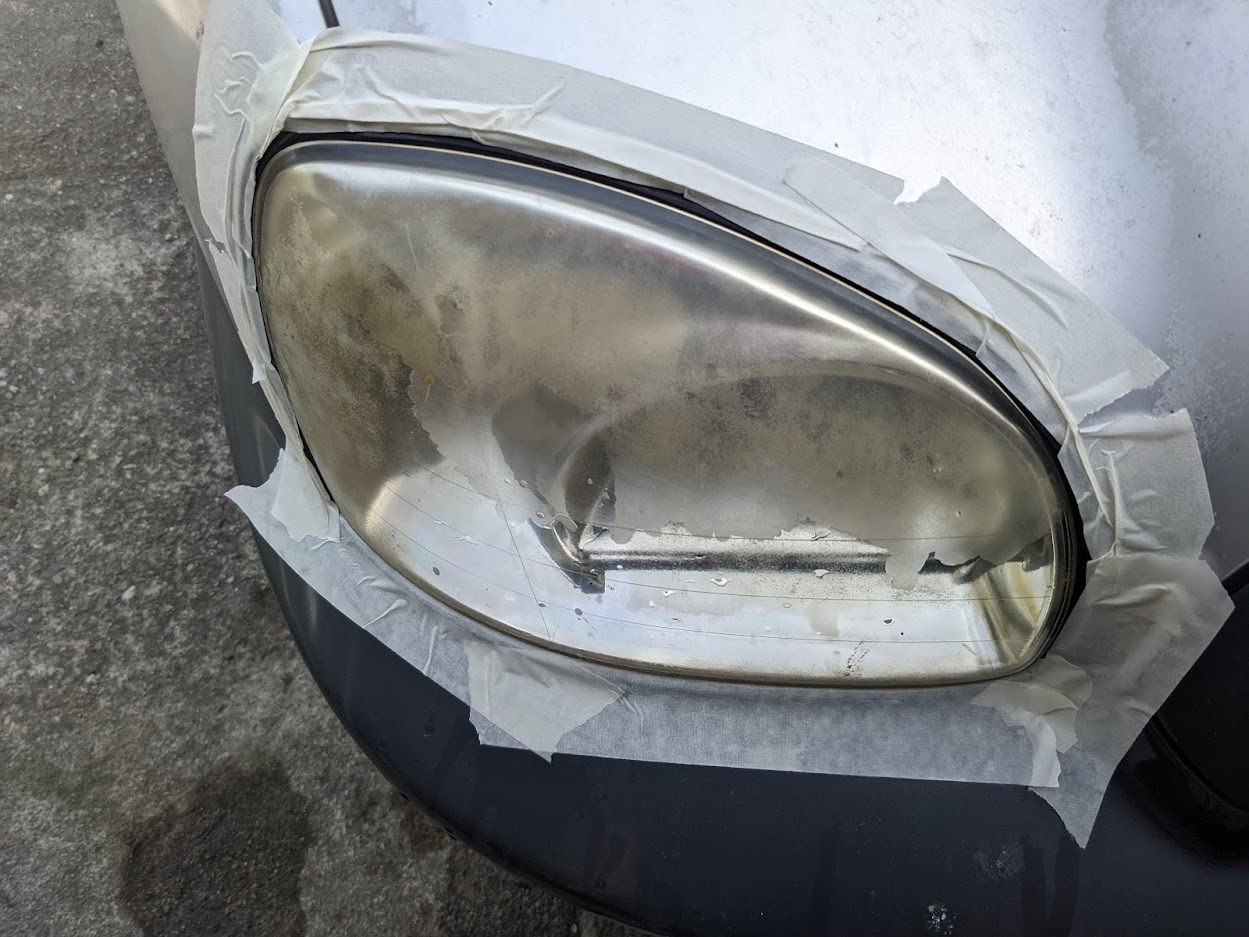
One of the parts of the car where this was most evident was the deterioration of the headlights. The clearcoat protecting the headlights was completely missing on the upper 1/2 of both lights, and this section was VERY cloudy, as you can see in these pics:

After watching a few videos we decided to dive all the way in with sanding and polishing!
Here are the steps we took:
- 300 Grit wet-Sanding
- 600 Grit wet-Sanding
- 1000 Grit wet-Sanding
- 1500 Grit wet-Sanding
- 2000 Grit wet-Sanding
- 2500 Grit wet-Sanding
- Polish with Mothers Mag & Aluminum Polish
It was really tricky for us to determine when we had sanded “enough” with each grit, but we could at least tell that we were making pretty good improvements with each step.
After the final polish with the Mothers Mag & Aluminum Polish, we noticed that (for the first time in the process) the water we were spraying on the plastic was actually BEADING off vs. sticking in a sheet / layer on the light!
Here’s how they turned out:


We were both actually pretty surprised with how well they turned out! Extremely clear!
All the research showed that we needed to add some kind of protection to the plastic or the UV would quickly cloud them up again. There are different clear-coat applications we could do, but since we had some leftover ceramic coating (that I’ve used on my TESLA) we opted to do a few coats of that and see how it holds up.
Overall we’re VERY happy with how well the process worked and how great the final results turned out!