TL;DR: I wanted a stackable crate for garage project supplies that could print flat, assemble without screws or hinges, and still be parametric. I could not find one that worked the way I had in mind, so I used Codex as a hands-on design collaborator. The finished crate prints as five flat parts, locks together with short pieces of ordinary 1.75 mm filament, has vented walls and base, stacking features, reinforced handles, and underside rails. I printed and assembled the final A1 Mini version in PLA; the files and a small fit-test coupon are included below.
The crate I wanted, but could not find
I was looking for a useful way to organize project supplies in my garage. I had a simple idea: what if a crate could be printed flat, assembled securely, and then stacked and carried like a normal crate?
I spent a surprising amount of time searching the usual 3D-print file sites. There are plenty of collapsible crates with printed hinges, but I could not find the combination I wanted: fully flat-printable, parametric, and assembled with filament instead of hinges or extra hardware.
Flat printing was also part of the experiment. I wondered whether it could save time or material by avoiding the endless travel moves and retractions created by tall vented walls. The answer, after slicing both approaches, was not as dramatic as I expected—but it was still a design problem I wanted to try.
The simple design target
- Print every structural part flat without supports.
- Assemble it without hinges, screws, or special hardware.
- Use short pieces of the same 1.75 mm filament as the actual locking pins.
- Keep it vented, stackable, and easy to carry.
- Make it parametric so the overall size can change instead of being locked to one crate size.
I know enough about Onshape to experiment, but I did not feel confident creating every connection, tolerance, and retention feature from scratch. That is where I tried something different.
Using AI as a design collaborator
I used Codex as a collaborative design tool—not as a button that magically produced a finished product. I had the overall idea, picked the direction, and physically printed and tested the important pieces. But it was remarkable to watch the AI turn that idea into the actual mechanical logic: the tabs, the receiving pockets, the shoulder stops, the corner knuckles, the pin paths, and the retention details that keep it together.
The interesting part was not just getting a crate-shaped render. It was working through the small physical details that a render cannot answer: Does a tab reach the correct stop? Does the hole line up when it is fully seated? Can a piece of filament get through the entry without forcing it? Does it grip in the right spot instead of binding too early?
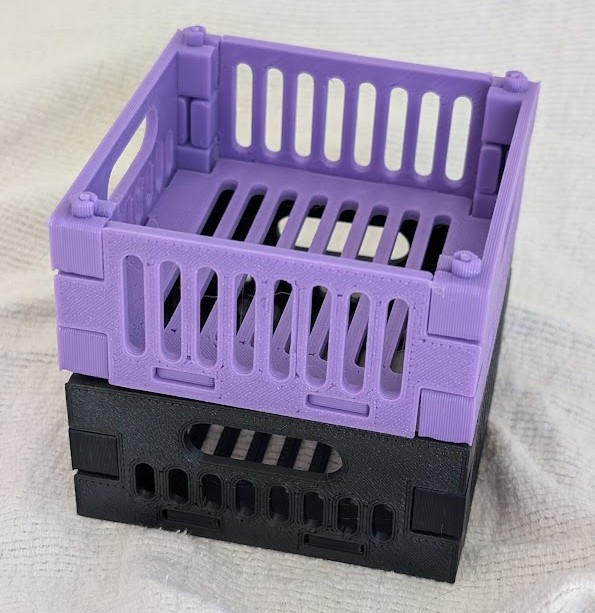
What the finished crate includes
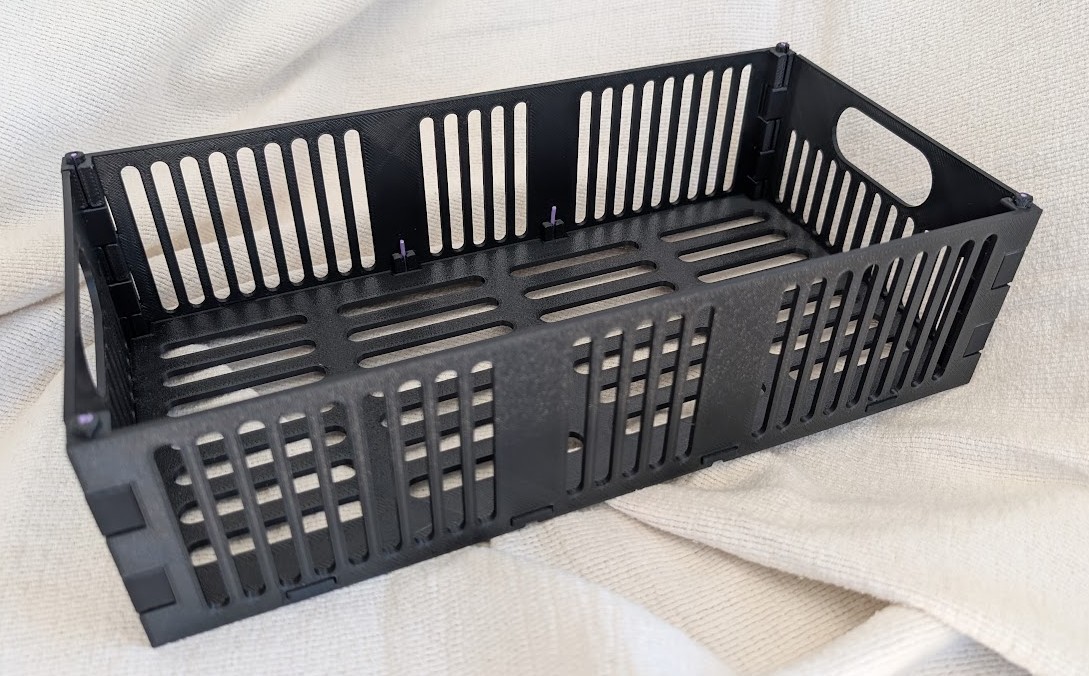
Five flat-print structural pieces
The base, two long walls, and two handle walls all print flat. The A1 Mini and A1 versions are laid out as one full plate. The larger H2S version uses the same joint system but is supplied as individual flat parts so it remains practical for that bed.
Base tabs and hidden filament locks
The base has integral tabs that slide into the wall pockets. Each tab reaches a real shoulder stop, which places its clearance hole exactly on the wall’s lock-pin path. A short piece of 1.75 mm filament then goes up from underneath, passes freely through the tab, and is held by a tapered split grip collar in the wall. It is a clever little connection because it is easy to assemble but does not rely on the tab hole itself being a tight friction fit.
Interlocking corner knuckles and top-entry pins
The wall corners use alternating knuckles. After the walls are seated, a long piece of filament drops down through each corner from the top. The pin has a generous pass-fit through most of the corner so it is not a fight to insert, then a shorter lower retention zone holds it in place.
Reinforced handles, vents, stacking, and base rails
The handle openings have larger rounded blends where they meet the end walls, which is the important load path when carrying the crate. There are vent slots in the sides and bottom, plus stacking nubs at the corners.
One of my favorite details is underneath the base. The bottom is vented, which is great for airflow but can make a wide panel less stiff. The design adds raised rails below it. They help support the span and also hold the vented bottom off the shelf or table so the openings remain useful.
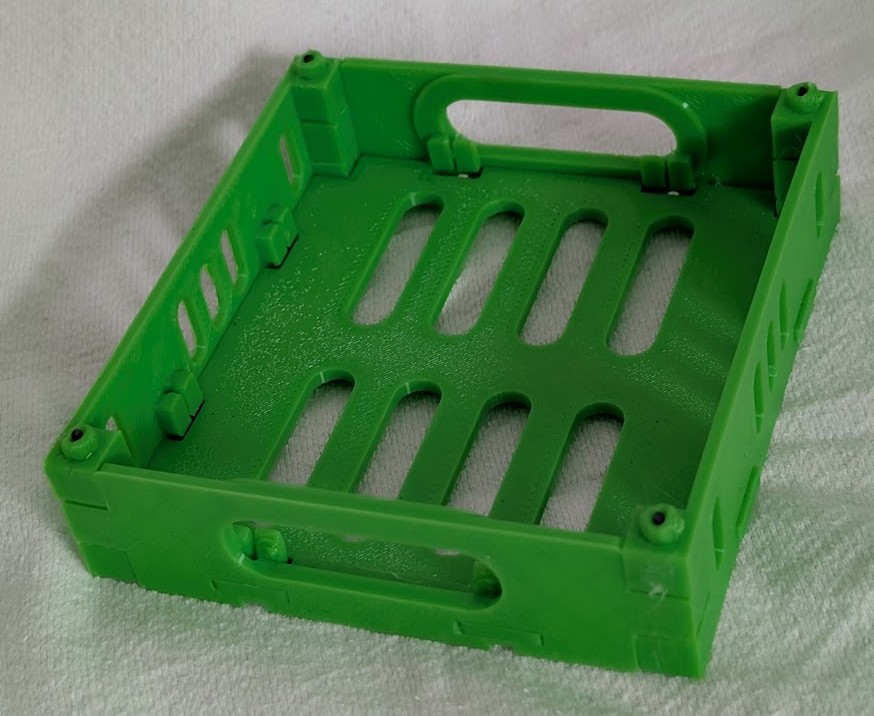
Proving the important connection first
Before committing to a larger print, I made a tiny coupon that tests just the base tab, wall receiver, and filament lock. This is the sort of thing a screen render cannot prove. I could feel the tab slide to its shoulder stop, confirm the holes actually aligned, and make sure the filament had a controlled entry before it reached the grip collar.
The animation below shows the two motions: the blue tab seats into the gray wall, then the orange filament travels upward from the underside into the retention collar.
Assembly
Assembly is simple once the parts are printed:
- Print the base rails-up, then turn it over so the rails face down.
- Slide on the two long walls, then add the two handle walls so the corner knuckles interleave.
- Drop one long filament pin down from the top of each corner.
- Tip the crate enough to reach the underside and push the short filament locks up into every base-tab receiver.
- Check that all walls are seated, every corner pin is retained, and every hidden lock is fully in its grip collar.
What I printed and what still needs testing
The green A1 Mini crate shown here is the final version I physically printed and assembled in basic PLA. The most important connection was also tested separately with a 0.6 mm nozzle before the full build.
The A1 and H2S downloads are generated from the same final geometry, but I am not claiming those exact larger prints have been proven on every printer or with every filament. My recommendation is simple: print the included coupon first, then test at least one connection on your own machine before you start a bigger plate.
For a 0.6 mm nozzle, a sensible starting point is PLA or PLA+, 0.20–0.24 mm layers, four walls/perimeters, no supports, and 100% scale. Do not scale the crate, because the intentional clearance around the locks will change.
Download the files
The flat-pack crate package is released under CC BY 4.0. You can share, remix, and use those flat-pack files commercially with attribution to Rob / Nifty-Stuff and a link to the license.
Download the complete 3D Printed Parametric Flat Crate package (ZIP, about 6 MB)
The package includes the clean parametric OpenSCAD source; full-plate A1 Mini and A1 STL files; the large H2S base and wall STL set; the tab-lock validation coupon; both browser-friendly MP4/WebM animations; the instructions; project photos; and the CC BY 4.0 license.
A second direction: the one-piece parametric crate
After the flat-pack project, I went in a completely different direction with a one-piece parametric crate. This is not a stripped-down comparison version of the flat crate. It is a separate adaptation of Majrooo’s Stackable Crate Plus, rebuilt as an editable OpenSCAD project.
It has plain numeric length, width, and height controls; optional side and bottom vents; rounded L-shaped stacking keys with matching through-holes in the bottom; and automatic reinforcing cross-ribs only when a vent span grows long enough to need them. The default version is 180 x 120 x 63 mm with vented sides and a solid bottom.
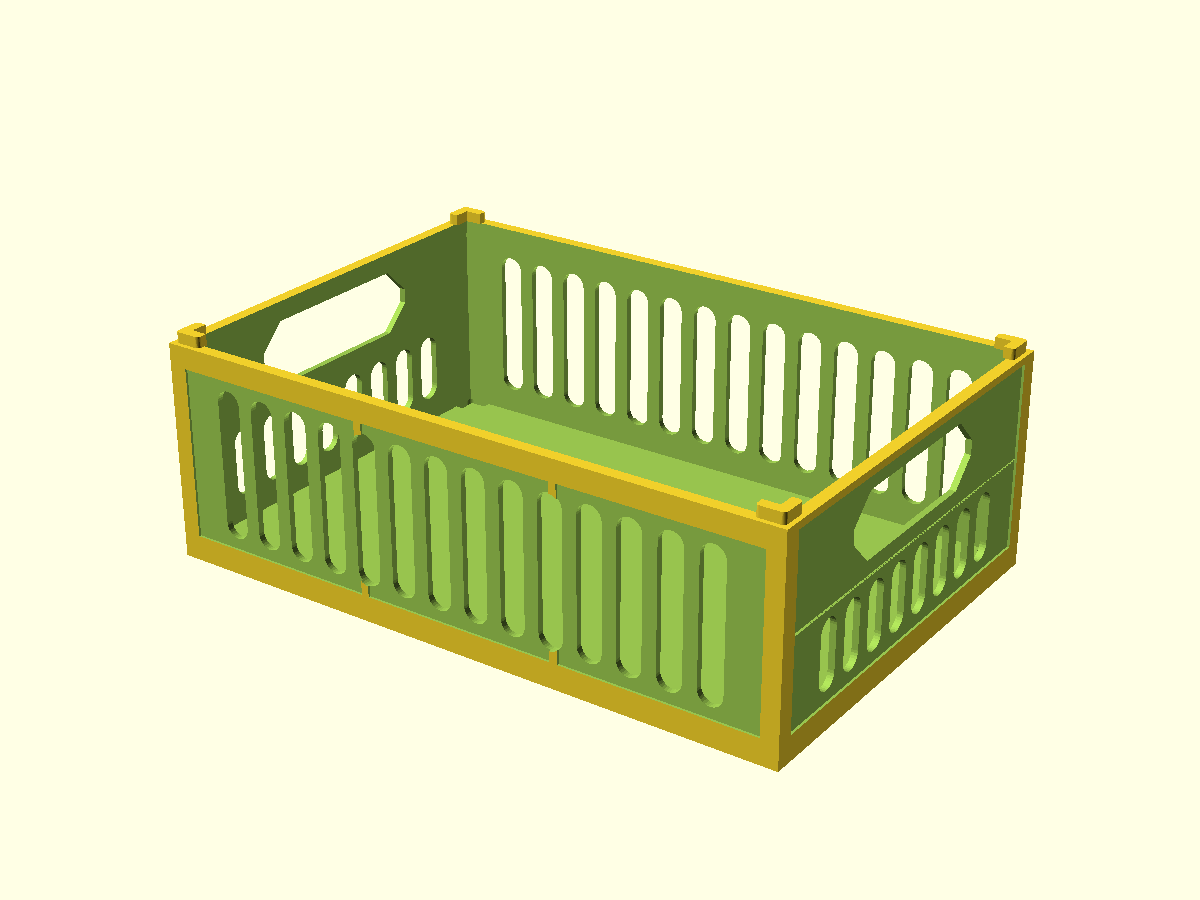
Original-model attribution: This one-piece project adapts “Stackable Crate Plus” by Majrooo (@Majrooo_786391), licensed under CC BY-NC 4.0. I modified it into an editable OpenSCAD version with configurable dimensions, optional vents, rounded L-shaped stacking keys with through-holes, and adaptive reinforcing ribs. No endorsement by the original creator is implied.
Download the one-piece parametric crate package (SCAD, solid-bottom and vented-bottom STL files, instructions, and CC BY-NC 4.0 attribution/license notice). This separate package is for non-commercial use.
I started with a practical garage-storage idea and ended up with something I would not have attempted on my own: a parametric, flat-print crate with a surprisingly complete little mechanical system built into it. That is the part I still find amazing.